Ready Google Play developer account: what to verify before launch
A practical guide to choosing, verifying, and preparing a ready Google Play developer account for a Google Play and App Store Connect launch. It separates Google’s official one-time registration fee from service quotes and covers account ty
 GuGeDevApple Developer guideClosed testingPlay Console checklist@google898
What does a “ready Google Play developer account” actually mean?
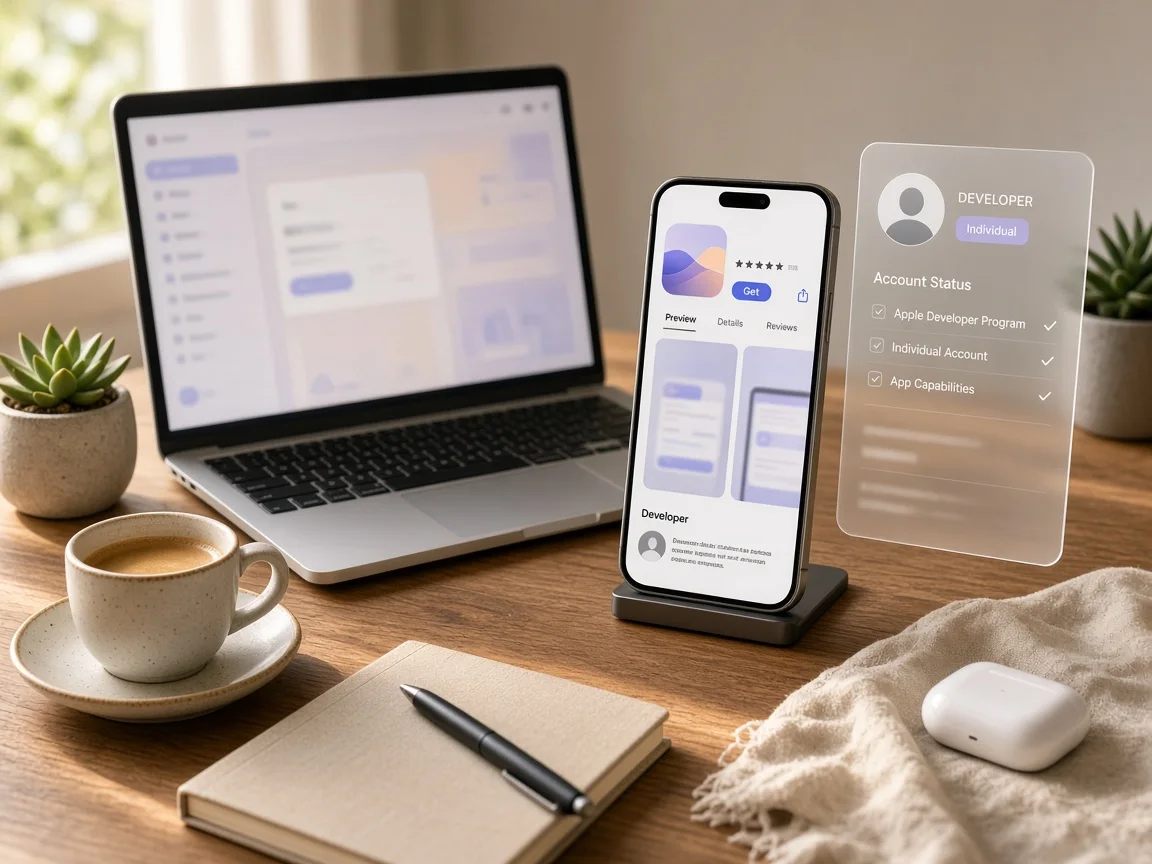
Treat the phrase as a status claim, not proof of publishing ability. A genuinely ready account should have the intended owner logged in, the correct personal or organization identity selected, a verified developer profile, access to the required Play Console pages, and no unresolved identity or payment issues. Separately confirm whether the account has ever had an app published, because an account without an existing listing is not the same as an account attached to a live app. Save the account email, current Play Console messages, and the date you checked. If you need account or listing assistance, confirm exactly what the provider supplies and what you must still complete personally.
What will the official Google registration step cost?
Google’s public registration fee is a one-time payment of $25 USD, not an annual membership fee, although the checkout currency and final amount should be checked on the registration page when you pay. This official fee is separate from any inventory quote or assisted-publishing service price;
compare those as separate line items and confirm what each includes. For a Google and Apple release, budget the two ecosystems independently because Apple’s developer enrollment terms and current annual fee are shown in its official enrollment flow rather than inherited from Google. Do not let a quoted package price obscure identity verification, store-listing preparation, uploads, review, or release management that may be outside the official registration fee.
Which account type and developer identity should you choose?
Use Personal when the release belongs to an individual, and Organization when it belongs to a company, school, agency, or other recognized entity. An organization account normally requires the identity verification and supporting documents requested in Play Console before the organization name and collaborator access can be used as intended. The developer name shown on the store is a public listing decision, so compare it with the legal entity name, website, support address, and privacy-policy owner before enrollment. For an agency-managed app, document who owns the package, who controls the signing key, who receives console invitations, and who approves production releases. This prevents a later mismatch between Google Play, App Store Connect, your website, and the support contact. If the console requests evidence, provide authentic records that match the entity and region rather than borrowed or edited documents.
Which Play Console tasks must be completed before you can request production access?
Start in Release overview and read the live checklist for the account, app, and target audience. Internal, closed, and open testing are different tracks with different purposes. Some newer personal developer accounts are shown a closed-testing requirement before they can publish to all users;
community references often mention about 12 testers for around 14 days, but the tester count, duration, and eligibility must come from the current Play Console requirement. Follow the displayed process with real testers and genuine feedback, and do not skip, fabricate, or attempt to bypass it. Track each release, keep screenshots of the test setup, and wait for the console to update eligibility. If production access remains blocked, record the remaining task instead of treating a completed upload as a successful release.
How should a Google and Apple launch be organized?
Treat each platform as a separate compliance path while maintaining one source of truth for product facts, ownership, version history, privacy disclosures, support details, and release notes. On Google, confirm the app record, package identity, signing setup, testing track, store-listing assets, and target release before uploading the final Android artifact. On Apple, complete Apple Developer Program enrollment, prepare the App Store Connect app record, upload the iOS build, and use the console’s review and release flow. Match version names and user-facing descriptions across both stores, but do not assume approval on one platform makes the other release eligible. A useful handoff identifies the exact Android and iOS builds, responsible owners, unresolved review items, and whether each store is submitted, scheduled, live, paused, or rejected.
What should you do when an Android APK is flagged as malware or shows a virus warning?
First preserve the exact warning, scan source, filename, package name, and timestamp. Then determine whether the artifact came from the expected build pipeline and matches the file intended for release. Compare the distributed APK with the signed artifact, inspect its permissions, components, SDKs, and manifest changes, and use current security tools to look for unexpected behavior. A warning can reflect an unknown distribution channel or a detection issue, but it should not be dismissed without evidence. If it came from Google Play Console, read the security or policy detail presented for that submission and fix the reported concern before resubmitting. Never alter an executable to evade scanners, distribute the same APK through an untrusted channel, or promise that a warning can be removed on request. Keep the platform boundary clear as well: an APK is for Android, while iOS distribution belongs in App Store Connect and TestFlight, not in APK upload tools.
What should the final pre-submit checklist contain?
Verify the owner login, selected account type, organization verification, completed testing tasks, production access, app identity, signed build, store-listing name and description, privacy and data-safety information, support contact, version notes, and target audience. Re-open the same Play Console or App Store Connect pages after every important change and confirm the persistent status instead of relying on a one-time success message. Save error text, screenshots, and timestamps before editing anything because account type, region, entity, and account history can produce different console tasks. If you need help comparing account status, preparing listings, organizing uploads, or diagnosing an APK warning, GuGeDev can provide application and publication assistance while you remain responsible for the app, credentials, documents, testing, and final release decision.
相关苹果规格


相关文章
 GuGeDevApple Developer guideClosed testingPlay Console checklist@google898
Google Play charges a one-time developer registration fee rather than an annual membership fee, but account verification, testing access, app review, and release requirements still depend on the live console. This practical guide explains h. @google898
 GuGeDevApple Developer guideClosed testingPlay Console checklist@google898
A practical guide to Google Play and Apple developer accounts, agency publishing, closed testing, APK malware warnings, account verification, and the checks to complete before submission. @google898
GuGeDevApple Developer guideClosed testingPlay Console checklist@google898A Google Play block may concern the developer account, an app, or a release, so the first step is to identify the exact console notice. This guide covers personal and organization accounts, live closed-testing requirements, account-purchase. @google898